Do you wanna build a tablet? (mark II)
The usual story
Hardly had I finished the first version of my Raspberry Pi tablet that several things happened, almost at the same time:
- Raspberry released the 1B+ model. With 4 USB ports, it removed the need for a USB hub, and freed up some space inside the enclosure.
- I realized that I could buy some of PixelQi amazing screens, for example on Adafruit. They are color LCD screen that can be used in broad daylight. They can also revert to black-and-white for a very low electricity use.
- My screen broke down (the red channel was always on, which is not good)
- The power button also gave up
- The space inside the tablet was a little cramped, and some of the cables were touching the back of the screen, resulting in phantom touch events.
In short, I was definitely ready for a second version of the tablet, fixing some of the issues I had identified with the first try.
Replacing the screen on the touchscreen
On this specific LCD touchscreen, the LCD screen was simply taped to the digitizer. Separating them just involved inserting a wedge between the two, very carefully so as not to break the glass of the digitizer (the screen was alreadt broken, so I was less careful with it).
I then taped the PixelQi screen to the digitizer, using double-sided black scoth tape:
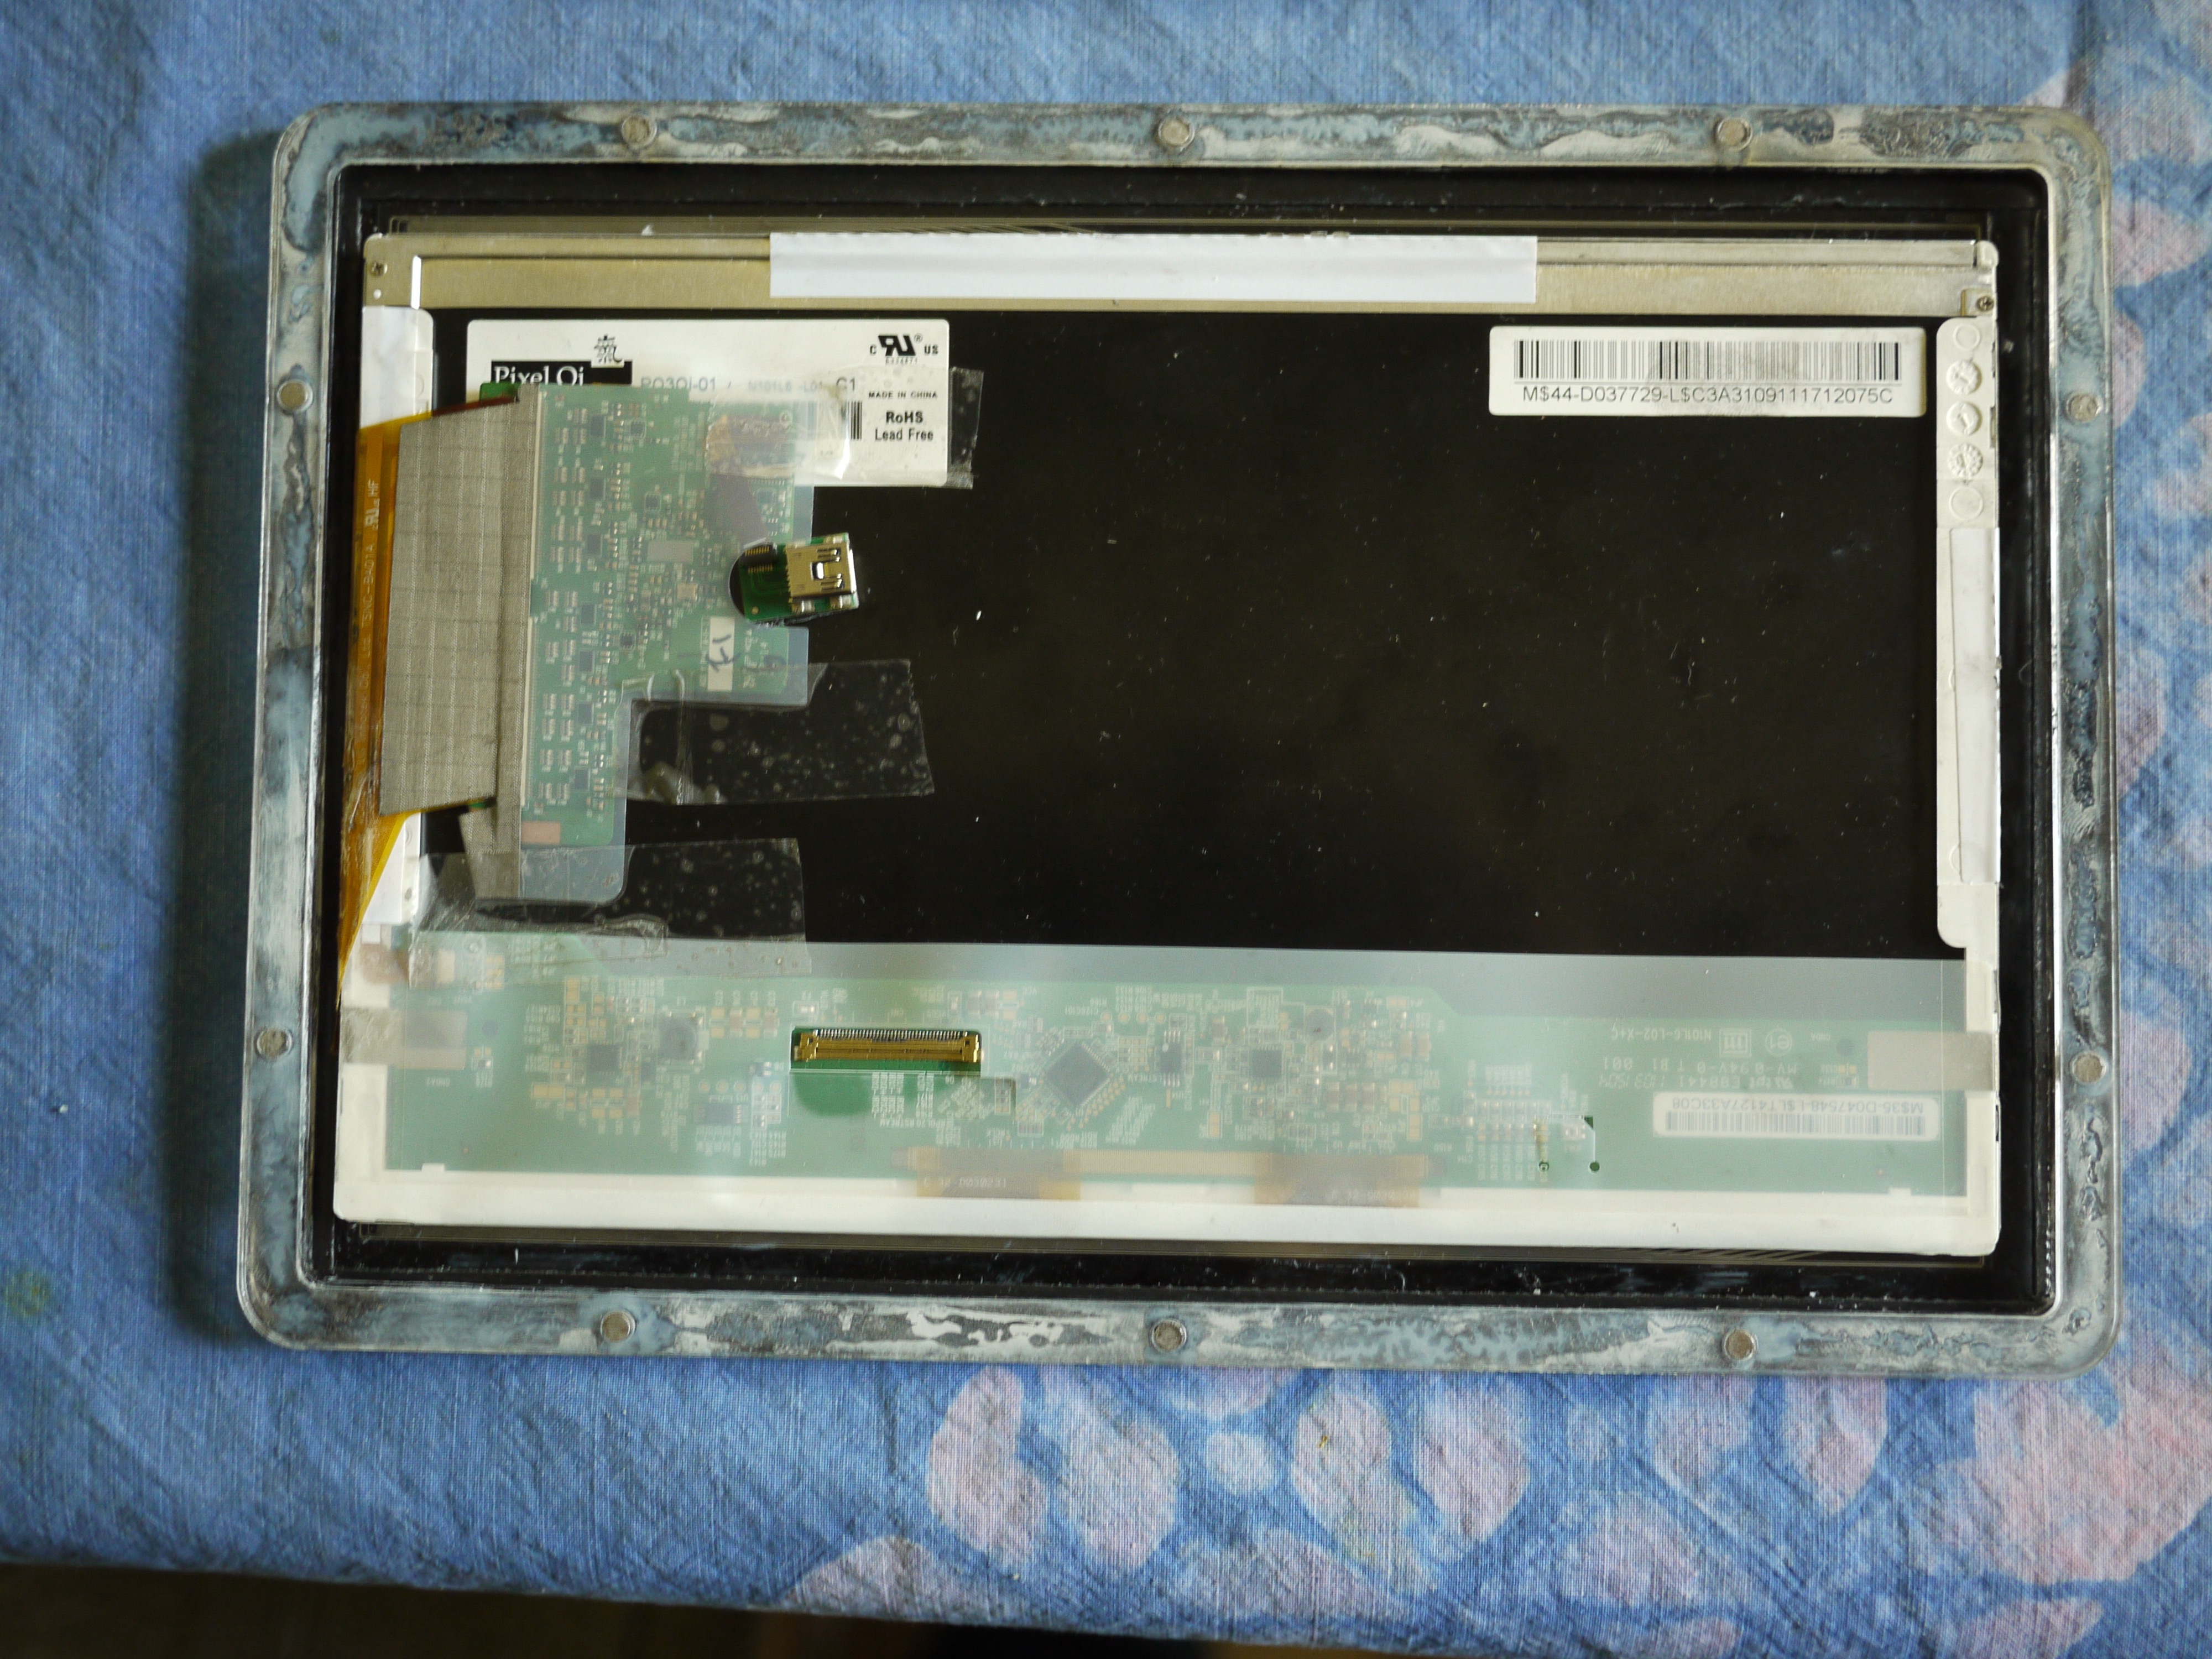 |
| The PixelQi screen on the original touchscreen digitizer |
New organization inside
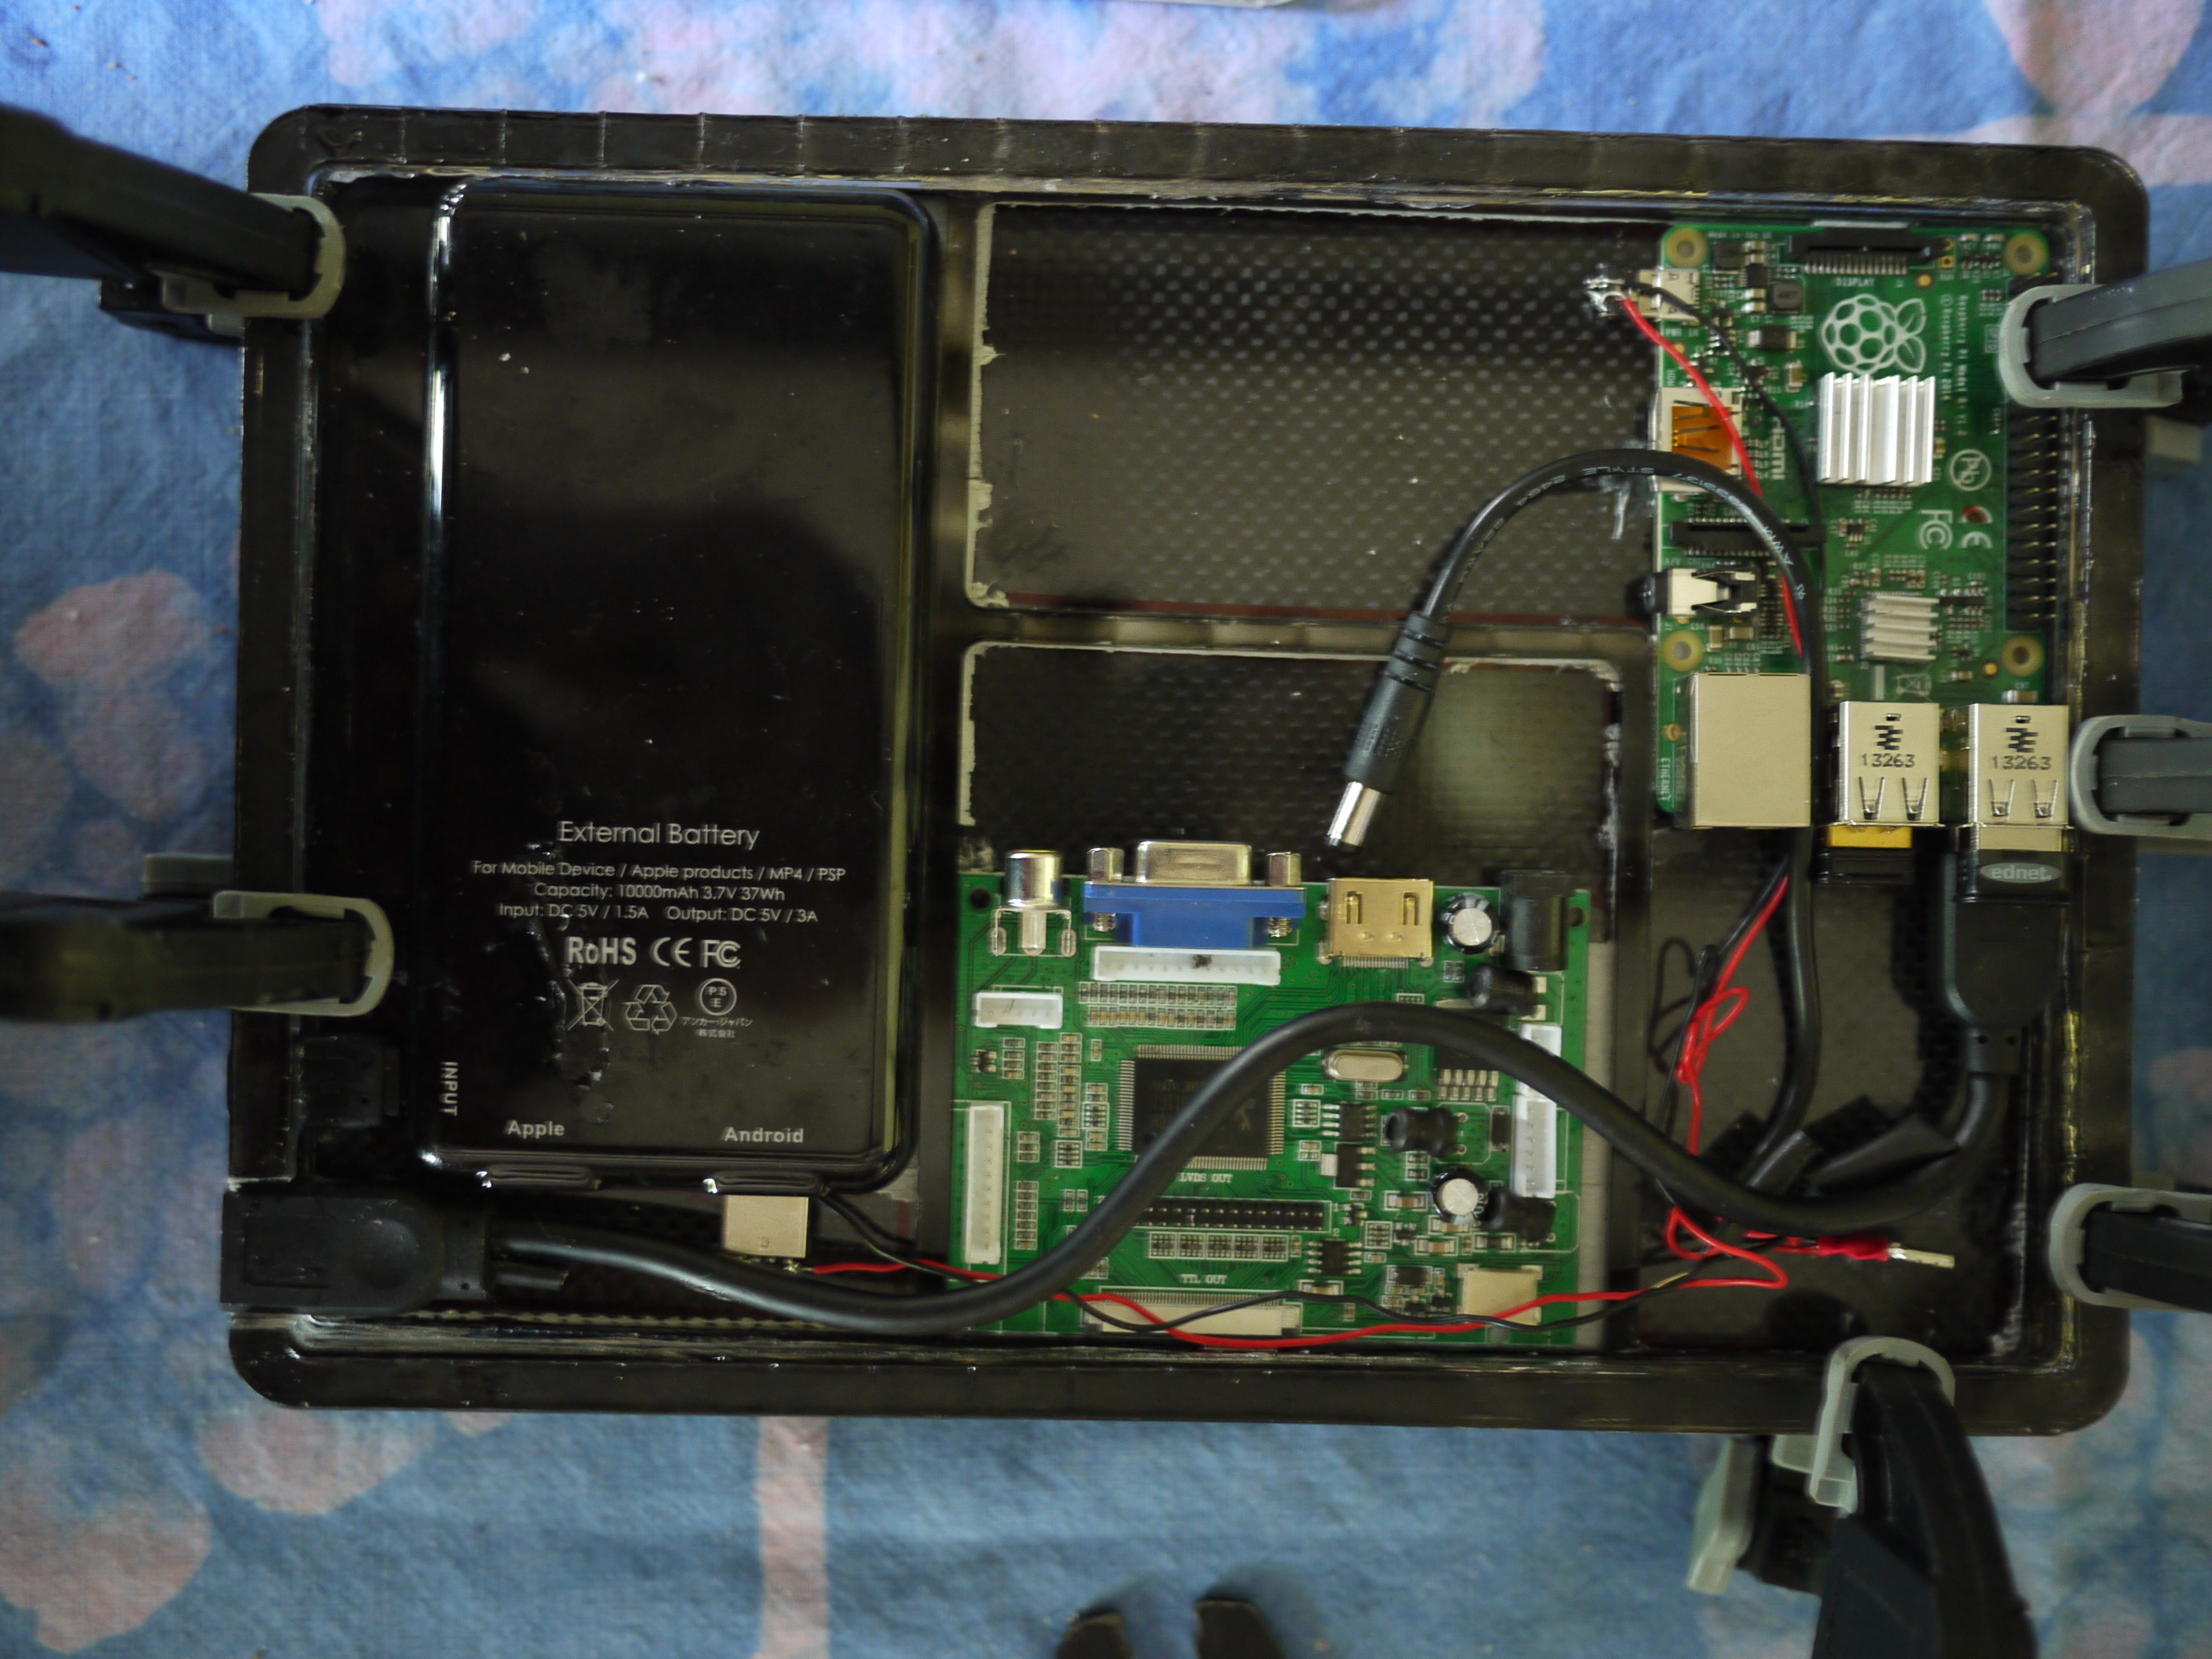
With the new Raspberry Pi, the inside becomes much simpler:
 |
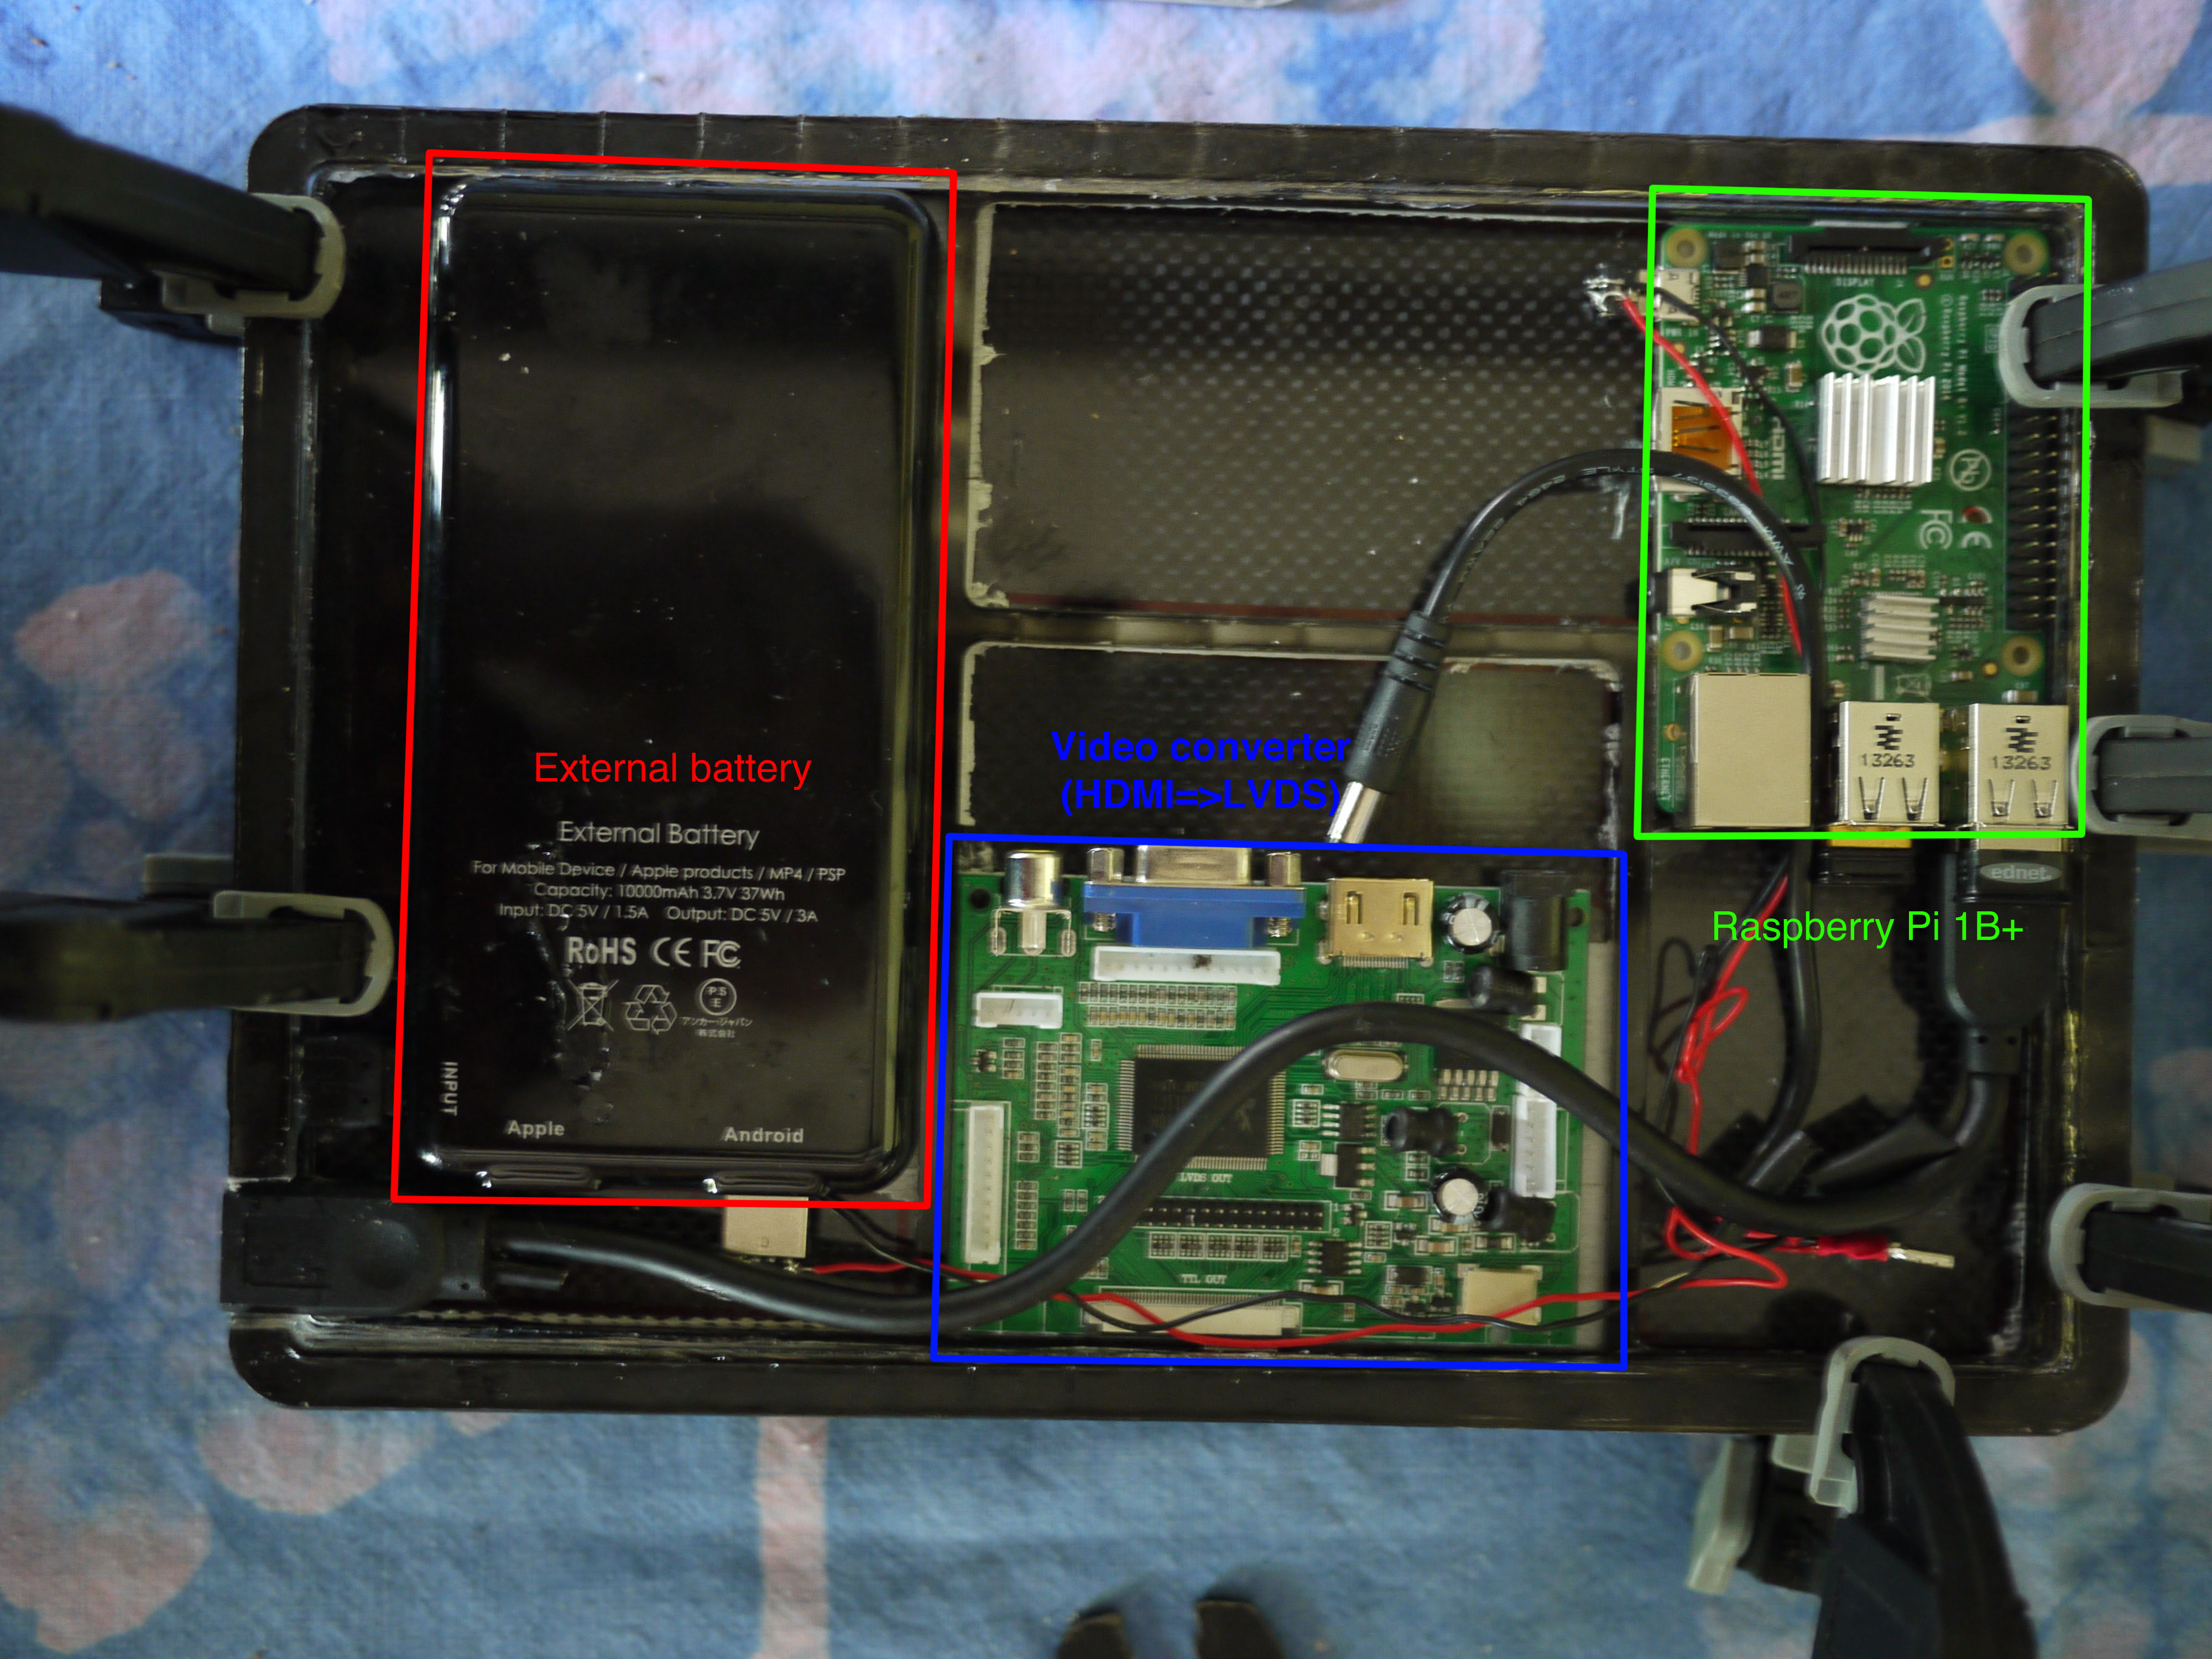 |
| Things are more neatly organized | Which part is which? |
Still missing in this picture: the HDMI cable going from the Pi to the video converter board, the power button (it will go in the bottom right), and the cables going to the screen: LVDS cable from the video converter, USB from the touchscreen to the last remaining USB port on the Pi.
Everything is glued to the bottom using double-sided scotch tape.
The good news is: I didn't have to cut or damage any of the boards, contrary to what I did for the first tablet. The bad news is: it is substantially thicker. A double USB port is 2.4 cm high, the screen itself is 0.4 cm thick (it is actually thicker at some points, but you don't have to position the thicker part of the screen right on top of the thicker part of the board). So we're looking at 2.8 cm (1.1 inch).
I used plexiglass again (it's nice and transparent, and I can see the Pi Leds as it gets active). This time, there are 6 layers of 4 mm, plus two layers of 2 mm where I put the magnets (one on top, on on the bottom). So, the top part of the tablet has: the touchscreen, one layer of 4 mm, one layer of 2 mm, and the bottom part has 5 layers of 4mm plus one layer of 2mm.
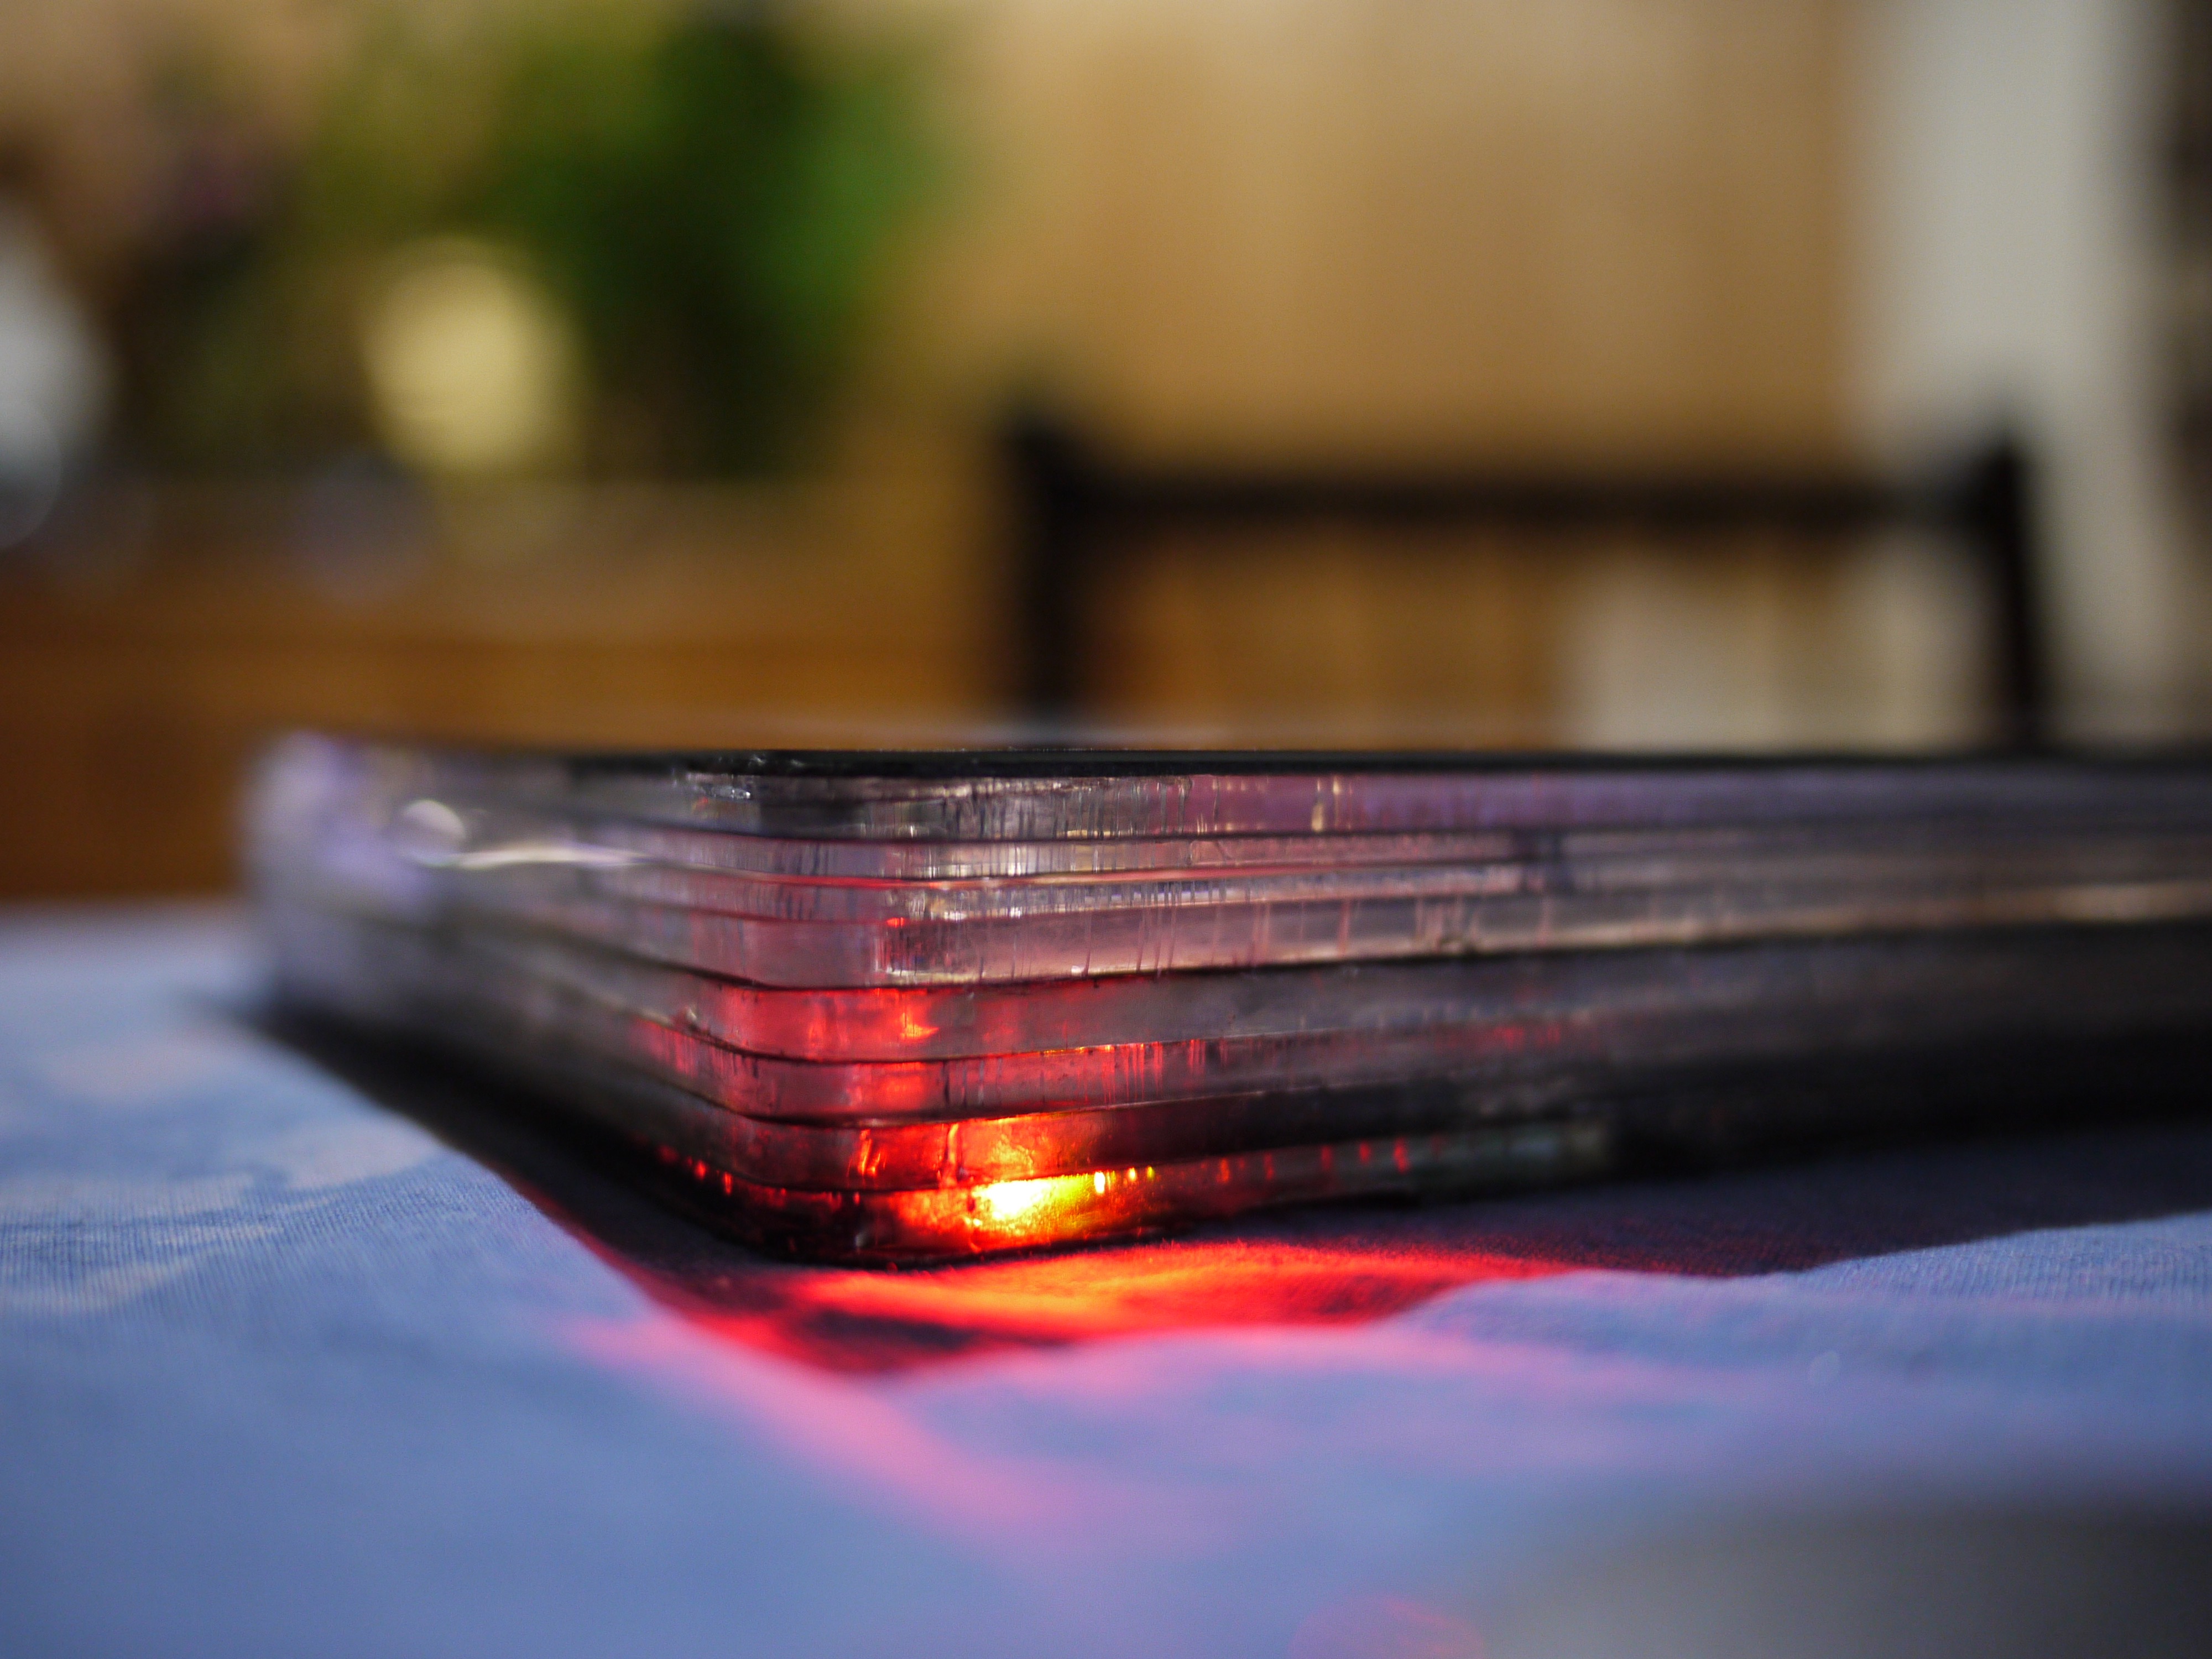 |
| The view from the side: 6 layers of 4 mm of plexiglas, and 2 layers of 2 mm around the magnets. Total thickness: 2.8 cm |
Configuration
You need to configure the Pi to use the new display, which has non-conventional size. In config.txt, you will need the following lines:
framebuffer_width=600
framebuffer_height=1024
hdmi_force_hotplug=1
hdmi_cvt=1024 600 60 3 0 0 0
hdmi_group=2
hdmi_mode=87
display_rotate=1
avoid_warnings=1
The last line (avoid warnings) prevents the Pi from displaying a rainbow square whenever you are draining too much power. The others force a display on a vertical screen of 600x1024.
You also need to change the touchscreen transformation matrix, since the geometry of the display is not exactly the same as the geometry of the touchscreen. In /usr/share/X11/xorg.conf.d/40-ntrig.conf, add:
Section "InputClass"
	Identifier "N-Trig Pen"
	MatchProduct "N-Trig Pen"
	Option "Ignore"  "on"
EndSection

Section "InputClass"
	Identifier "N-Trig Touchscreen"
	MatchProduct "N-Trig Touchscreen"
	Option "Ignore"  "on"
EndSection

Section "InputClass"
	Identifier "RotateTouch"
	MatchProduct "N-Trig MultiTouch"
	Option "TransformationMatrix"  "0 -1.1 1.052 1 0 0 0 0 1"
EndSection
The first two sections disable two of the touchscreen options, and the last section rotates and scales the touchscreen events so they fit the screen.
With all these modifications, the tablet now looks like this:
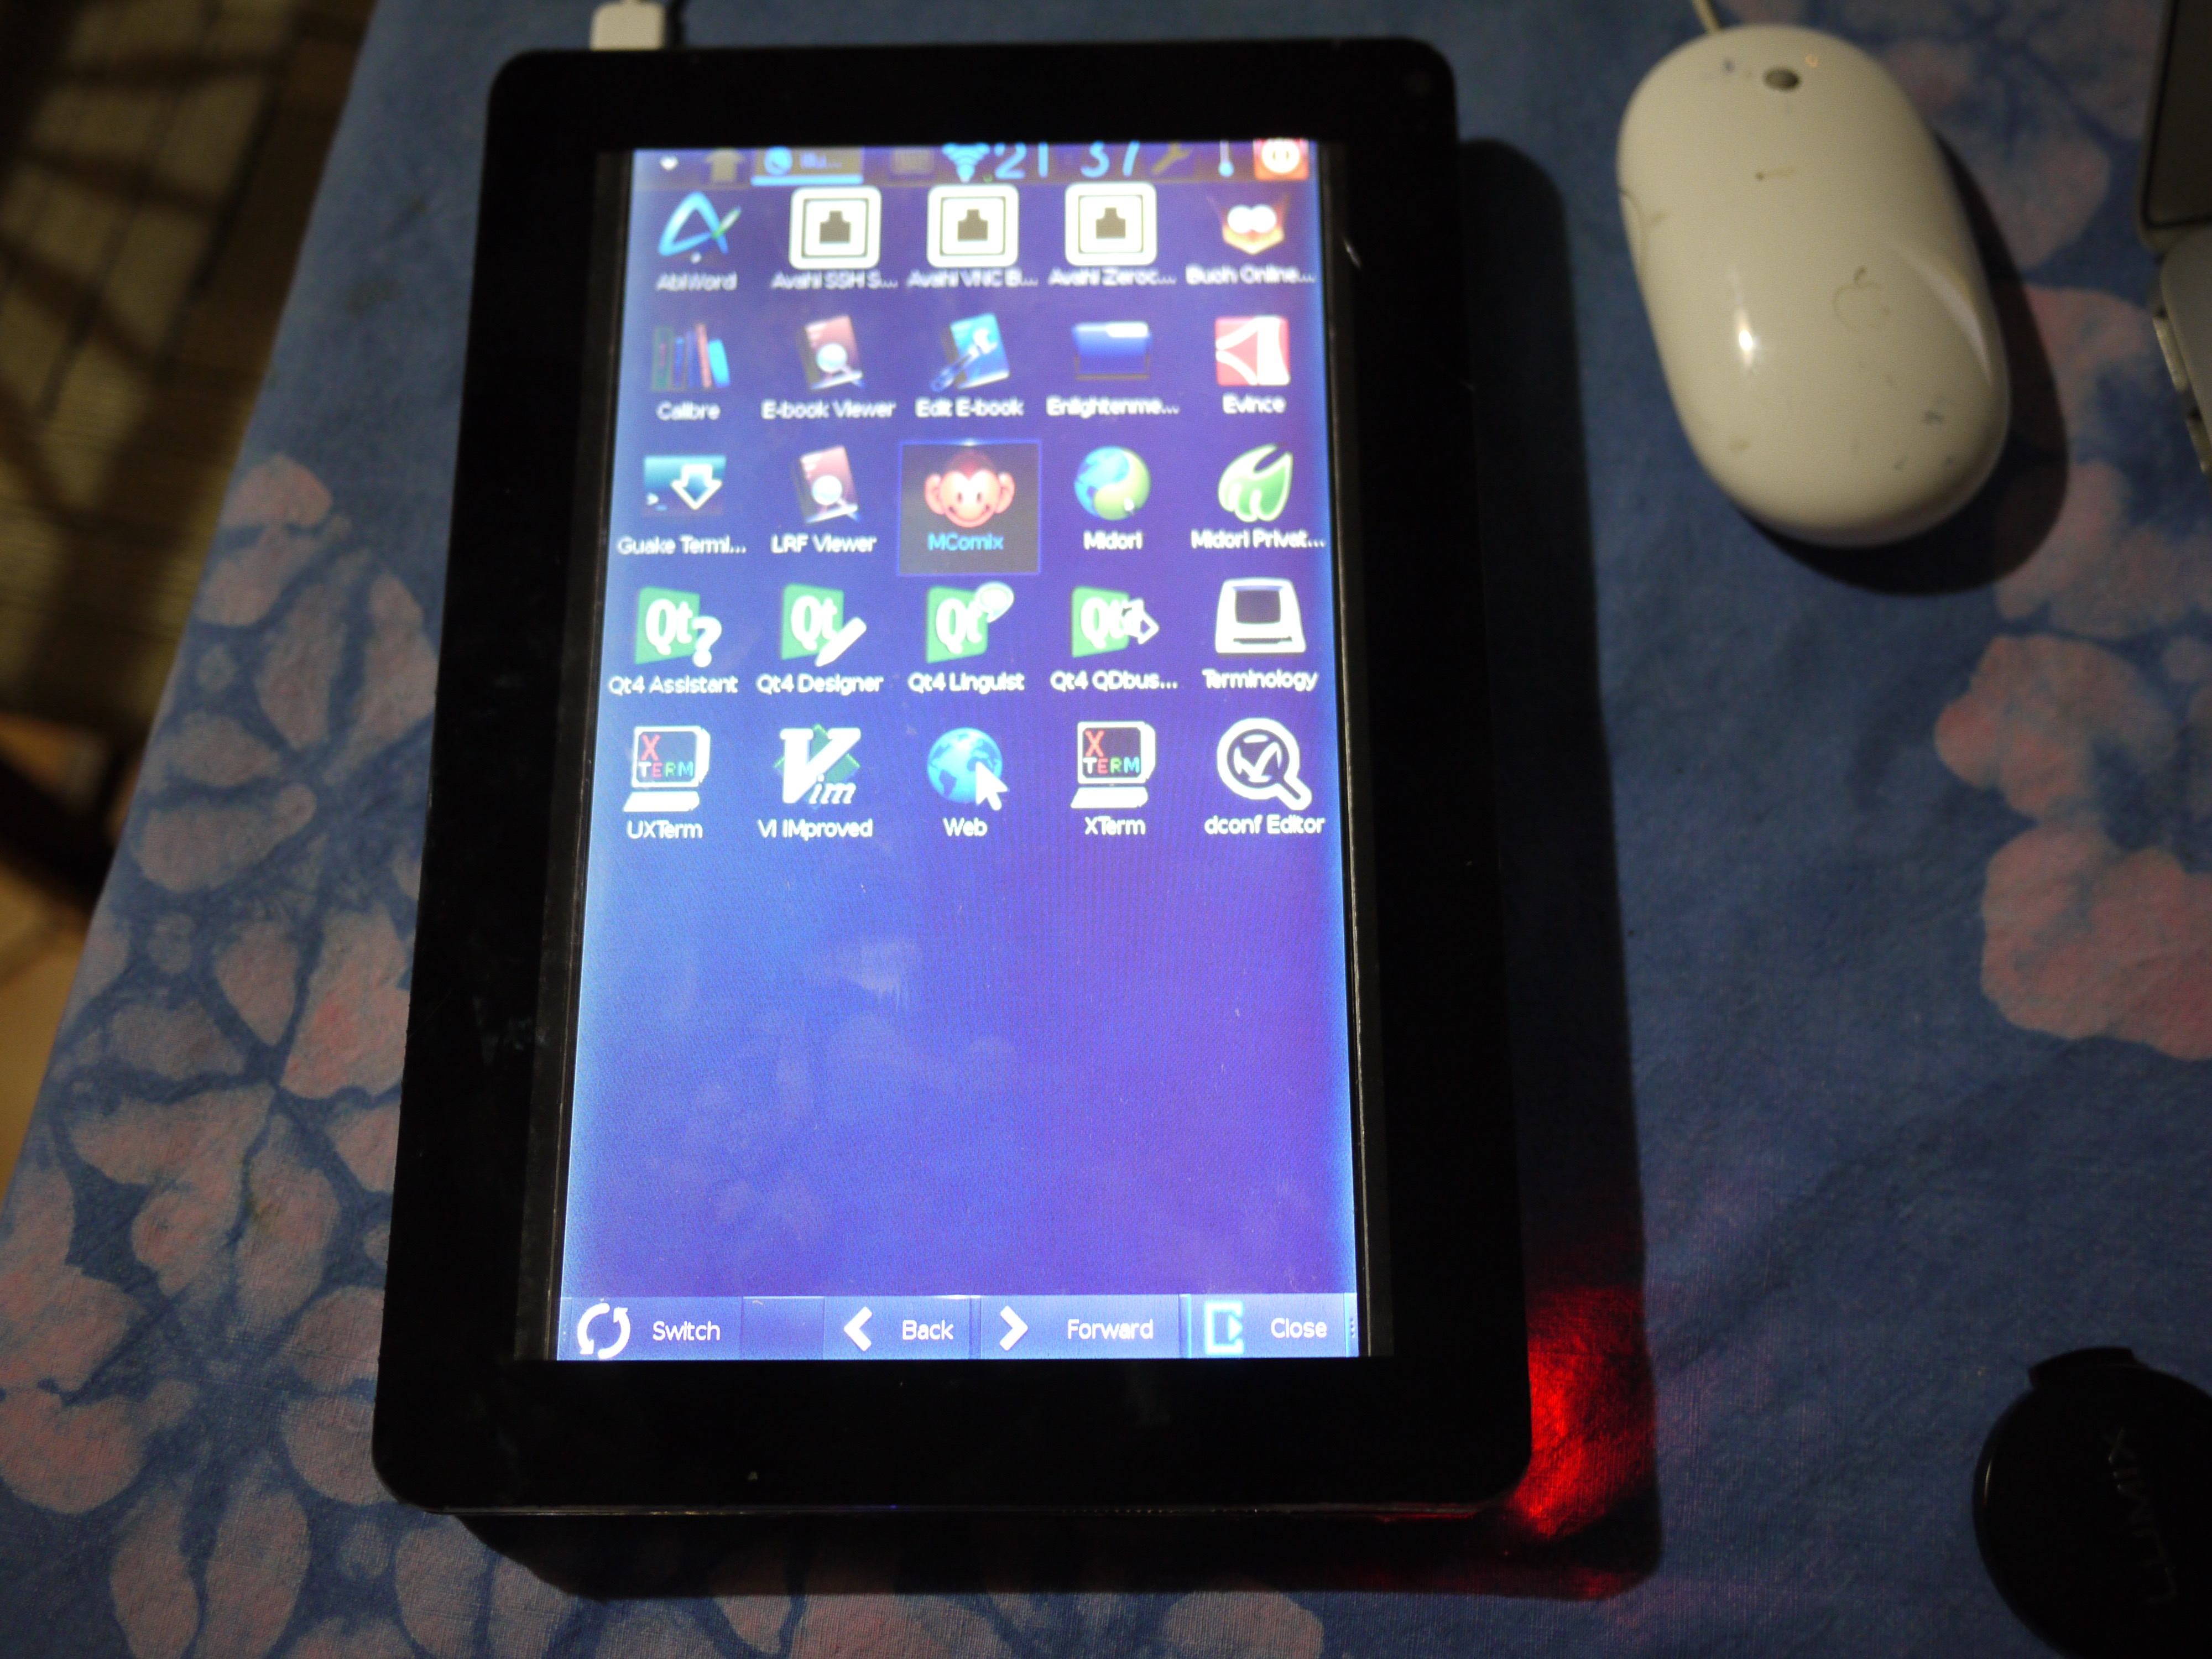 |
| The new tablet, running ArchLinux + Enlightenment 17 mobile edition |
The software
On this version, I used ArchLinux, combined with Enlightement Mobile edition. The compactness of ArchLinux makes it well suited for an architecture like the Pi, where memory and disk space are tight. You do have to configure things manually, but that was also the case with Raspbian, in practice.
Enlightenment Mobile edition was an experimental UI, well suited for use on a small touchscreen. It disappeared on one of my updates, leaving me with Enlightenment Desktop edition, less optimal.
The mark III
Having a Linux tablet made me realize how much most Linux distributions and UI assume you have a mouse and a keyboard. Having a touchscreen as your only input device makes you very aware of all the applications that expect you to use a right-click, or to scroll with the wheel. Even double-clicking is less easy with a touchscreen than with a mouse. None of the distributions I tried was convenient with just the touchscreen. Most of the time, I had to use a keyboard or a secondary mouse to exit the application and shutdown.
Raspberry recently introduced the Raspberry Pi 2. With the same form-factor and connectivity as the 1B+, it was a drop-in replacement for me (I unplugged the 1B+, removed it, placed the 2 in its place, plugged everything back in). The Pi2 is more powerful, and it runs Ubuntu Mate, whose user interface is (finally) convenient (for me, YMAMV). It helps that multi-touch is finally working properly (it wasn't on any other distro), enlarging the range of interactions gestures.